The New Gardener: Completing the setup of the raised bed gardens
Posted on: April 30, 2018 | Written By: Mike Palm |
Note: With the guidance of editor Doug Oster, new gardener Mike Palm will be chronicling his adventures (or perhaps misadventures) in starting a garden this year.
So last time, I got the basic setup of the garden done. It will be a pair of raised bed gardens measuring 4 feet wide by 10 feet long. My initial design was only 6 inches deep. Doug suggested making it a foot deep, so it was back to the hardware store for the same wood I got last time. It sure would have been easier to get boards that were a foot wide instead of connecting two sets of 6 inch boards.
I knew I would need to connect them so I took a trip to Lowe’s with my 6-year-old, Toby. When we were in the hardware section, I found rectangular pieces that I thought would hold the boards together. While Toby was looking around, he found a T-shaped bracket as well as one that looked like an L (his brother is Lucas). I got the T for Toby to mount to the garden and skipped the L because Lucas is 11 and likely wouldn’t care. (He didn’t mind, but I got guilted into going back and getting the L-shaped brackets, too.)
And I learned a lesson about why power tools can be better than manual tools. I have a drill bit stuck in my cordless drill, so I had to use a screwdriver. It did not go well for my thumb. This is what it looked like after connecting the boards on one of the raised bed gardens.
-
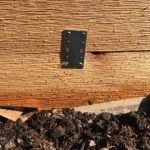
- The boards are connected!
-
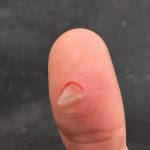
- My poor thumb
I cheated on the second bed and used some nails after trying tacks. (I also learned the origins of the phrase “sharp as a tack” when I reached into the container without looking.)
How to fill the gardens?
I wasn’t sure about what kind of dirt I needed to fill the beds, so Doug suggested organic compost.
Doug says: Those beds look great. When you fill them with compost, the plants have everything they need. It’s an instant green thumb to accompany your blistered thumb! Garden tip No. 4: wear garden gloves.
An online calculator determined that I needed 3 cubic yards of compost. Now doing that math, I would need 81 bags of compost if I decided to buy it in the prebagged amounts of 1 cubic foot. With that volume, getting a bulk delivery made more sense than buying bagged. Dragun’s Landscape Supply in the North Hills had it there the next day, and it was a mountain.
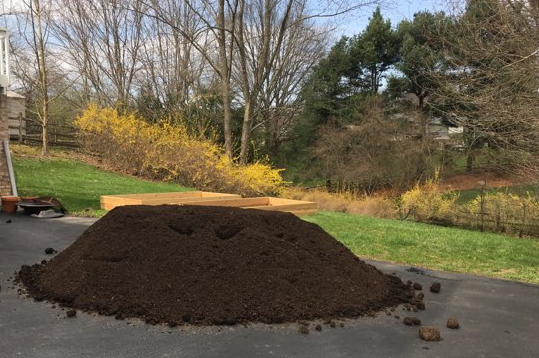
Three cubic yards of organic compost
Next came the tedious part of getting the compost into the beds. As I’m getting this garden started, I’m finding out that there’s much more to buy … like a wheelbarrow. Without one of those, these were filled shovel by shovel over the course of two days when the weather was cooperating.
And at long last, I have two filled, raised bed gardens. (And notice the L and T letters on both … nailed in by the boys.)
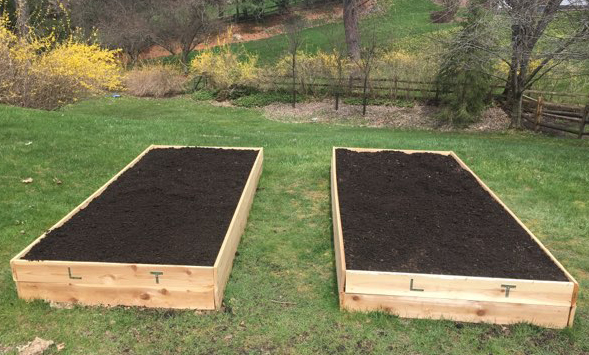
Filled with compost, the gardens are ready to go!
Doug says: I love those brackets. Once you get the deer fence up comes the fun part which is the planting. I’m excited to see what you want to grow in there. Think about some vining crops for the three outside edges. The kids might like pumpkins or maybe smaller watermelons. They can take over the area outside the actual beds. Another thing to consider is a trellis to grow vining crops up to save space. Maybe pole beans, cucumbers or if you’re interested, I’ve got some seedlings of red Malabar spinach. It’s pretty, not really a spinach, tastes like it, but will produce all summer. I’m just not sure the kids would be into something that tastes like spinach. This is so much fun for me to watch your progress!
Next up: Adding a fence or barrier to keep out the deer.
Earlier New Gardener stories
Part 1: Picking A Garden Location
Part 2: Choosing A Size And Type Of Garden
More from Everybody Gardens
See also, Raised Bed Gardening Secrets Revealed By CobraHead Inventor.
Follow us on Twitter.